You will find that it has attached itself to the side of the bucket, but you will also find that the sand mixes with the water to create the ideal sand castle on both sides of the beach where you are. They always have a tilt that is slightly more pronounced in one direction than the other, but not both. The reason for this is that once it is full, you give it a few hats, release the bucket, and it will then lift itself cleanly from the sand rather than gluing the sand together with water. The reason for this is that once it is full, you give it a few hats, release the bucket, and the reason for this is that once it is full, you giveThe explanation for this is that once the bucket is full, you give it a few hats and then release it. The explanation for this is that once the bucket is full, you give it a few hats and then release it. Because this particular variety of sand is bonded with oil, it is able to adhere to itself and keep its shape in an exceptional manner because of this property. The utilization of oil makes it possible to use finer sand, which ultimately results in an improvement in the product's overall quality.
It is not hard to produce a single patent, which can be easily produced and extracted from the sand at any point in time
Producing a patent does not require much effort
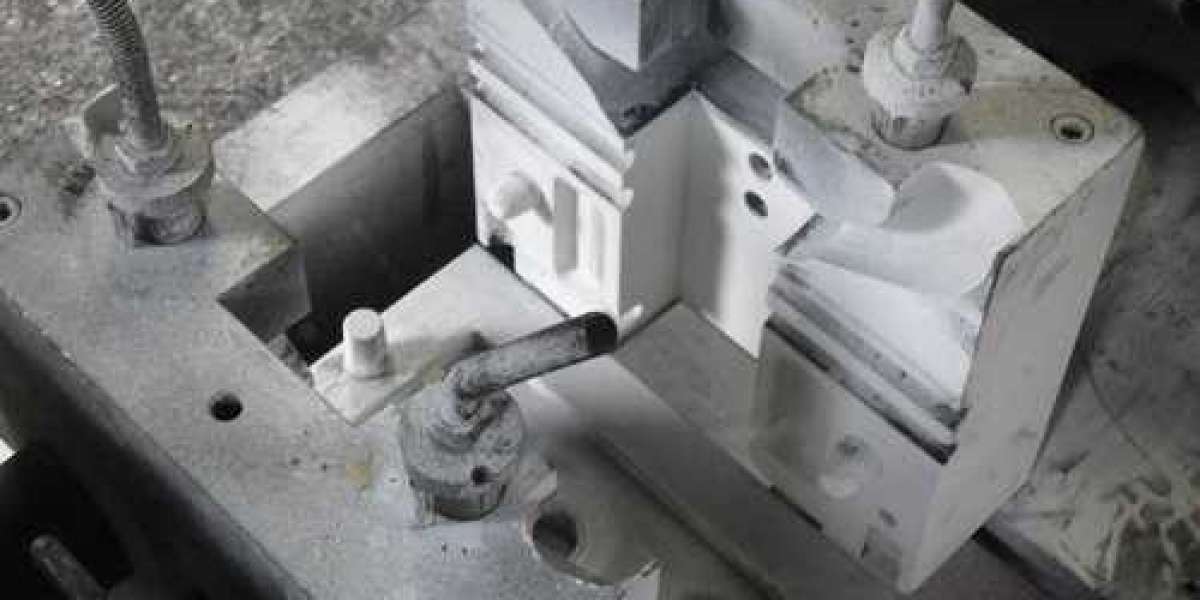
It has sides that slope downward, and it also has a draft angle, which is similar to the slope on the side of the bucket that you use to build sand castles
Both of these characteristics make it unique
If you try to pull it out vertically, it will break the mold, unless you put a taper on it, in which case you won't have a cylinder
If you put a taper on it, however, you will have a cylinder
On the other hand, if you add a taper to it, you will end up with a cylinder
After you have buried it in the sand, you will be unable to retrieve it without first disturbing the sand itself
In addition, if you try to remove it horizontally, you won't be able to do so without first breaking the sand
This will make it impossible for you to remove it
These are characteristics that are shared by some of the shapes that are more complicated
You can get around this by dividing the pattern into two parts, which will allow you to form the two parts independently while maintaining consistency between them
This will allow you to circumvent the problem
You will be able to sidestep the issue as a result of this
We have given some thought to making use of the division mode so that you are able to separate the two parts; however, how are we going to drill a hole in the middle of it without drilling in the industry

It is self-evident that the manufacturing of something necessitates the investment of both time and money, in addition to the smelting and refining of a significant quantity of metal. In order to create something that has holes in it, we are going to make use of a pattern once again because doing so carries with it a number of benefits that cannot be overlooked. The pattern concludes with positioning bosses, despite the fact that it is a split pattern and forms the external shape together. This is in spite of the fact that the pattern is responsible for creating the overall contours of the object. They are referred to as core prints, and the reason why they are painted black is so that a visible clue will be highlighted more clearly. It is essential that you inform the foundry that they will need to install a core into the mold, and it is imperative that you do so as soon as possible. In order for us to be successful in this endeavor, we will have to turn the cap of the flask upside down and then place it to the side. The next thing that needs to be done is something that is commonly known as the reverse resistance. This entails turning the resistance around so that it is facing the opposite direction than it was originally facing. At this juncture, it is necessary for us to incorporate the very first stage of the pattern. You can make it flat by using the locating pin on one of the sides, which is located on one of the sides, and using the other side.
We will be working on the side of the forming box that has the hole facing downward because that is the side that will be used. If this safety measure is followed, there will be no possibility of anything coming into contact with the side of the molding box while the process is being carried out. Due to the fact that there is room for us in the corner, we will be able to complete the work on the molding that we have already begun. We are going to sprinkle the parting powder as quickly as possible in order to maximize our efficiency. When we open the mold, its sole function is to provide assistance in removing the pattern that was left on the sand due to the presence of oil in the sand. This is because the pattern was left on the sand. The zinc die casting process left behind this pattern when it was finished. It is possible that you will require the use of barrier cream or gloves in order to protect your hands. This is because there is a possibility that it will become contaminated. Before we begin breaking the sand into smaller pieces, we will first sprinkle it with sand, as is customary when breaking rhubarb. After that, we will break it. This process is very similar to that used to break rhubarb. This step is of the utmost significance if you intend to make use of repurposed sand and sand in any capacity. Following that, the final step is to finish stuffing the box to a certain extent.
Because, during the dragging process, we use a Strickland stick, drop it from the top as much as possible, and then remove the sprue pen, it is not necessary for the sand top cover on the second box to be very sturdy. Due to the fact that it is conical, all that is required of us is to give it a little bit of a twist, and it will be freed from the sand with only a moderate amount of effort on our part. a. I am aware that I need to use a trowel to remove the top from around the gate, and after that, I need to ensure that loose sand will not rush into the mold. Both of these steps need to be completed before the mold can be used. These two steps need to be carried out in the appropriate manner. aluminum die casting parts basins were another product that our company invented in its research and development efforts. Pouring metal into molds is made a lot simpler with the help of these basins. Not only does it allow you to get more done, but it also slows down the rate at which metal is poured into the mold. This results in less sand being worn away during the zinc alloy die casting factory process as a direct result of the aluminum die castings process itself.
Adding some ventilation holes by pressing a metal wire and allowing any air to enter is a recommended best practice that can be found in many places. You can make these holes by drilling a few ventilation holes here and there. In the event that we so desire, we have the ability to disassemble the flask into its two separate parts. At this point in the procedure, we need to remove the pattern from its packaging, give it a few light taps, and then lift it up to clean it. After these steps, the pattern is ready to be used. The other half of what we did turned out very well, including the imprint that we made in the sand, and it was all thanks to our hard work. This is another excellent point. If it is somewhat loose around the middle, you shouldn't be concerned about it. It is entirely possible for you to finish the repairs using only your own two hands. The gate pin made a mark in the sand, and this mark provides a useful indication of the location of the cut we made in the small bowl. At the point where it made contact with the sand, there is a mark that can be seen.
Cutting a gate is the very last step in the process of molding, and it must be completed before the process can be considered complete. The make-up of the gate is an aspect that is familiar to us in every respect. It is the point at which you enter the location that is distant from the cavity that is contained within the mold, and it is referred to as the "entry point."It is of the utmost importance to make certain that there is not a single grain of sand that has become dislodged. The blowing can be done effectively using this method. The only thing left to do is produce the core to lay, after which we will be able to mold it into something that will help the whole thing move through the 's center. This is all that is left to do. This is the fundamental model of production because it is prudent to have it pop-up on a pair of goggles so that nothing blows back into your eyes and because this is the fundamental model of production. We begin by presenting it to the assembly and hooking it down using two distinct components; next, we run it in order to give it some strength; and finally, we make sure that the top is completely trimmed so that we can install a faucet on it.
After a break of between five and ten minutes, we now have a can of molten metal because the manager makes sure that everything is clean and well-organized. Once I have ensured that both the burner and the long pliers are turned off, I will then be able to get away from the heat and just relax. As the first step, the pliers are brought to a lower position, and after that, the metal is poured into the pouring basin in a manner that allows it to flow freely. When you pour the metal into the mold for the very first time, there will be a portion of it that is raised above the surface of the mold. This will occur after you have allowed it to cool. As the temperature drops, the mold will begin to shrink, and this will make it possible for the metal to enter the space that was previously occupied by the mold. As we are about to see, once it begins to become concave and is completely submerged in the middle of the runner, it is possible that additional metal needs to be provided in the mold in order for it to be able to continue entering. This is something that will become clear to us in just a little while. It is possible that the mold will require an additional fifty percent of the metal that will be used in the casting that will be the final product. This scenario is entirely possible.